Wood-Fired Oven Cooking Techniques

With those beautiful, slightly smoky flavors, the perfect caramelization, and that crispy-juicy combo that only comes from working with high heat, a countertop pizza oven can turn just about anything into a culinary masterpiece.
Unfortunately, if you don’t know what you’re doing, it can also turn anything into a culinary disaster. So, before you put on your apron and invite everyone around for your Italian chef impersonations, make sure you brush up on these cooking techniques first!

Choosing the Right Wood
Not all wood is created equal. Wood varies in size and moisture content, as well as the density and quality of smoke, so choosing the right type is essential for good, long-lasting, and even heat.
Here’s what you need to remember when you’re choosing your wood:
- The main wood you’ll use will need to be a hardwood, as it’s the only type that is dense enough to burn for a long time at high heat. We like oak because it’s easy to use and to find, but you’re free to use others like maple, beech, and ash.
- This wood should be in two sizes. The largest should be about 10 inches long and 2-3 inches thick. The next size down of your hardwood will just be used to get the fire going and should be about half the size.
- You’ll also need some wood you can use as kindling. Pine is great for this, as it’s incredibly quick to get going. Just remember to switch to a hardwood once it does!
- When you can, always choose seasoned hardwood over the unseasoned varieties. Seasoned woods have been dried, so there’s very little moisture in them. This means they produce less smoke and burn hotter than if they’re unseasoned.
The Techniques
The first thing to do, of course, is to start up your beautiful wood-fired oven. No matter what you’re cooking, you have to start with a high temperature and work your way down from there. With standard stones, aim for the stones to get to about 750°F. With Saputo stones, an ideal temperature is about 850°F.
Firing Up the Wood-Fired Oven
Just follow these steps:
- Open up the chimney damper all the way.
- Start with a stack consisting of your firelighter (which can be anything from crumpled newspaper to a compressed fuel lighter, to stump chunks), together with kindling.
- This stack should be on the left side of the oven underneath the Corten Steel shield.
- Light up the fire and add a couple of pieces of the smaller-sized hardwood.
- Put the door in place, but leave it slightly ajar to allow air to be drawn in.
- Feed the fire with the biggest-sized oak pieces (or other hardwood).
- Verify the temperature with an infrared thermometer (if you have one) aimed at the stones.
- Keep the chimney damper partially closed so the damper handle is at 45° (this helps keep more heat in), and leave the door slightly ajar until the target temperature is reached, adding the large wood if necessary.
- If you’ve made the fire in the center, you’ll need to move it to the side, before you start cooking, and sweep the ash from the stones.
- Add another log every 15-20 minutes after the temperature has been reached in order to maintain it.
Pizza
Keep the flames high and the thermometer at the same temperature (750°F for standard stones, 850°F for Saputo stones).
Let’s assume you’re already working bases like a pro (because our pizza dough tips would take up another whole article). Slide your pizza onto a lightly floured pizza peel—you did remember to buy one, right?—and slide it into the oven and off the peel with a gentle flick. Leave the door open because, in about 40 seconds to a minute, you’ll need to go back in there and give the pizza a half turn to cook it evenly. Another 40 seconds (keep an eye on the pie) and buon appetito!
Roasting
There are two stages to roasting: getting it nice and crispy at high heat, which locks in the juiciness, and the actual roasting part, which happens at lower temperatures. Start off at around 550°F with your meat and vegetables in a roasting tray, and then cover with a lid once the skin is brown and crispy and the moisture is sealed in. Let it drop slowly to 400°F and roast for another hour or as needed.

Baking
For baking, you’ll be getting the temperatures back down to a level that’s more or less the same as a conventional oven. Fire the brick oven up to maximum temperatures, then bring it back down to about 350°F (and smaller flames) before you put your bread in. For the perfect crust, add a little steam via some ice cubes in a heat-proof tray and keep the door closed for the first few minutes. You’ll know it’s done when you tap the bottom of the loaf and it sounds hollow.
The Wood-Fired Pizza Ovens That Make You Look Good
There’s a lot to think about when you’re working with a backyard pizza oven, which makes practicing your technique essential. There’s one other thing that’s essential, too: having the right oven to begin with.
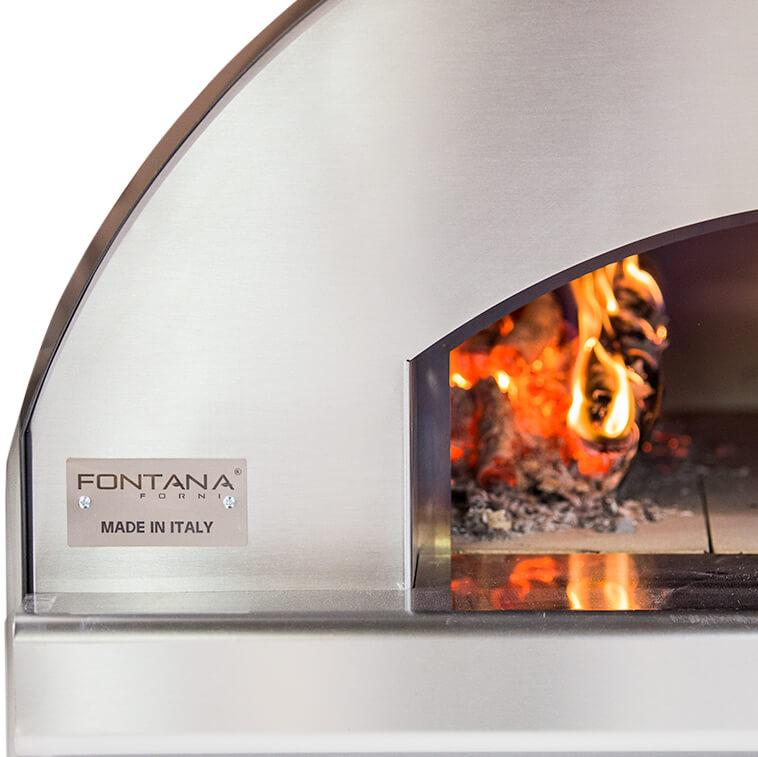
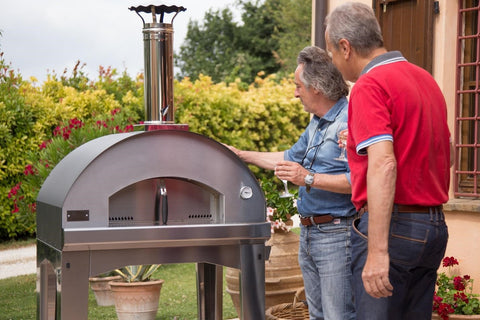
Investing in a Fontana Forni wood-fired pizza oven will let you live up to your culinary potential. Precise temperature controls and completely even heat distribution take the guesswork out of all kinds of cooking, leaving you to focus on the important things—like who gets the last slice.
Browse our range of outdoor pizza ovens and make your masterpiece today!


