Simple Pie Crust Recipe


What an awesome treat when my husband asked me to join him on a short business trip. To my surprise, while we were gone, the kids decided to test a pie crust. One of the girls directed the process while taking pictures, and the youngest followed each step as she made the dough. Thankfully they saved two slices for us to enjoy. The result was delicious!
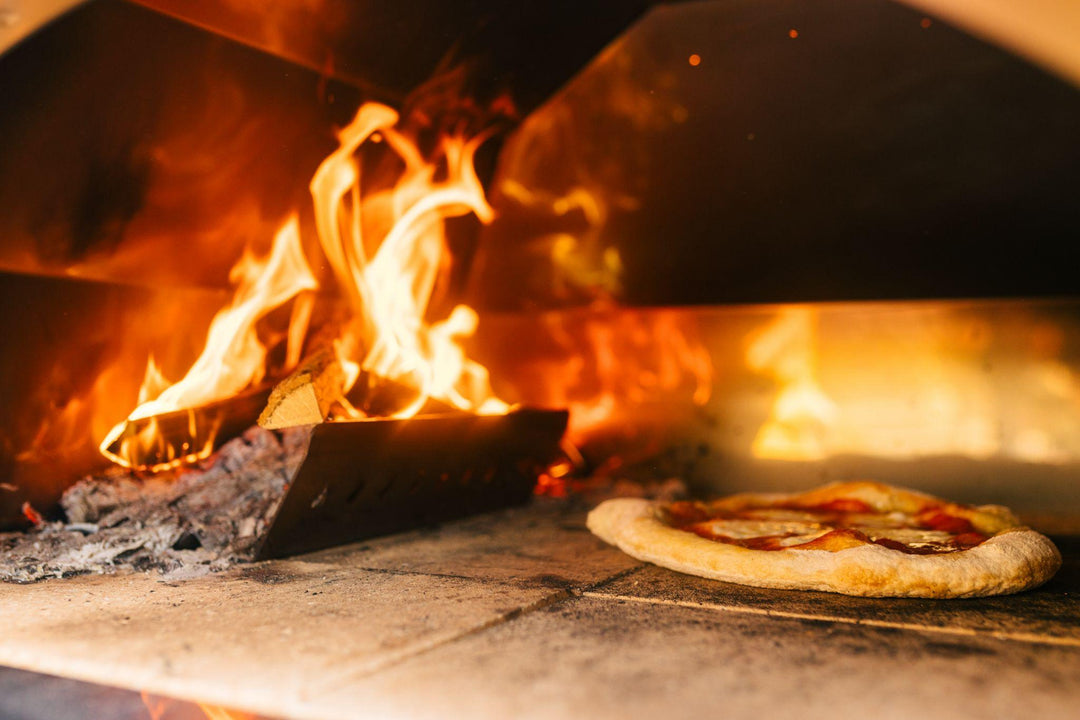
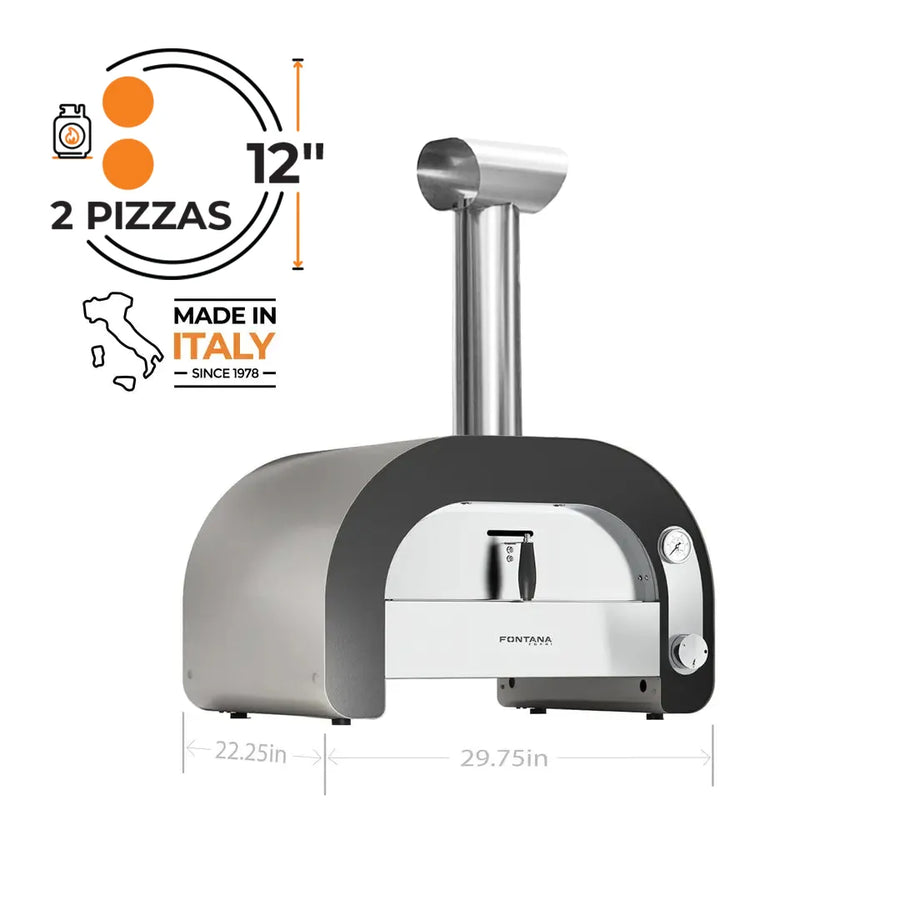
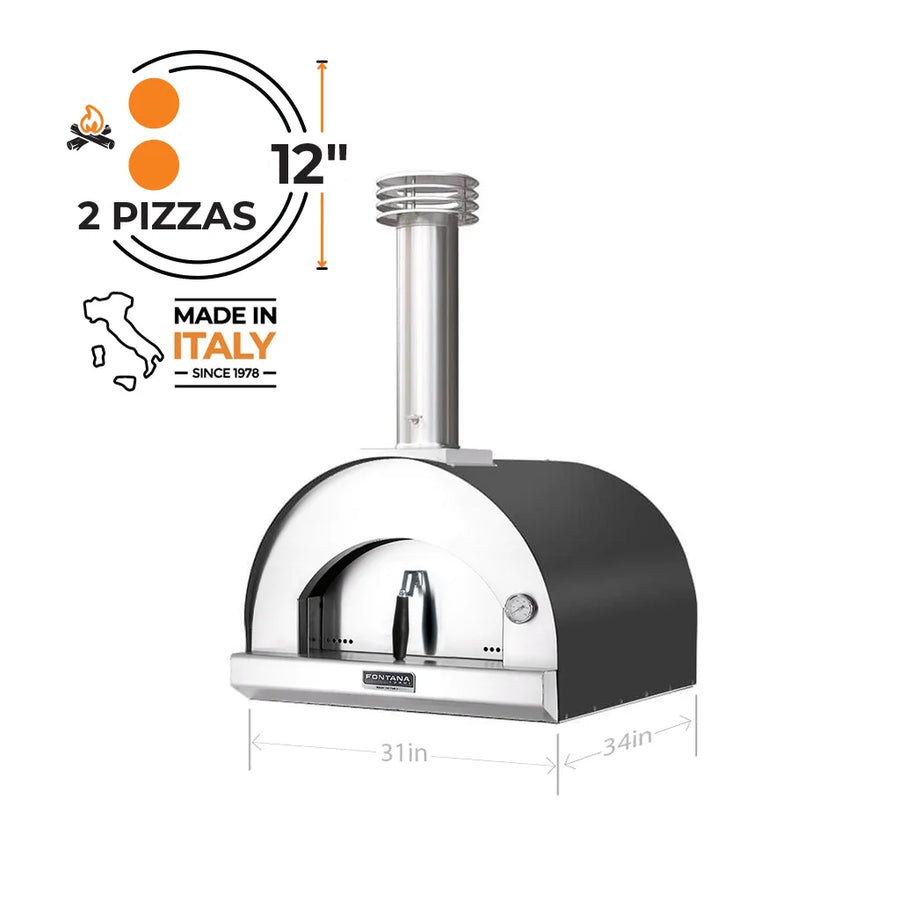
So now it is time for you to prepare this simple, delicious and versatile pie crust. This dough is ideal for sweet and savory pies, and it is perfect for baking in the Fontana wood-fired oven. You may never again purchase the premade dough sold in the store.
Ingredients:
- 2 cups all-purpose flour - 250 grams
- 1/2 teaspoon salt - 6.25 grams (increase salt to 1 teaspoon if using unsalted butter)
- 1 Tablespoon granulated sugar - 12.5 grams (omit sugar for a savory pies)
- 2/3 cup plus 2 tablepoons butter - 180 grams
- 4 to 5 tablespoons ice cold water - around 75 grams
Let's get started. For best results cube the butter and place it in the refrigerator to chill. The butter must be very cold and firm in order to create a flaky crust.
Pour the flour into a large capacity bowl.

Add the salt to the flour.

Mix ingredients together with a fork.

Add the cubed and previously chilled butter to the flour.

Making the dough by hand instead of the food processor, allows you to have much better control over the dimension of the pea size butter chunks in the final dough. With a fork or a pastry cutter, cut the butter into the flour.

Keep cutting the butter until you reach a consistency of a crumb or pea-like bits mixture.

This is a good consistency of the butter bits for a flaky result in the crust.

Place several ice cubes into a glass of water allowing it to chill.

Avoiding spooning up the ice, measure out the water one spoon at a time. Begin by sprinkling only three tablespoons of water into the mixture inside the bowl. It is easy to test the dough for proper moisture. To do this, simply gather a marble size amount of dough into your hands and squeeze it. Do not add additional water if the dough holds together firmly. If on the other hand, the dough crumbles you can add the forth and fifth tablespoon of water.

With a fork you can now mix the dry ingredients just long enough to moisten the entire mass. IMPORTANT! Allowing pea size bits of butter to remain in the dough, is the secret to achieving a light, flaky crust.

Quickly bring all ingredients together into a ball. Ideally, in order not to soften the butter as you are working with your hands, you can place your hands in ice cold water as it is best if they are also cold.

Gently press the dough mass together with your hands. Do NOT overwork the dough as it may turn out tough.

You are now ready to allow the dough to rest before rolling it out.

Cover and seal the dough with plastic wrap or put it in a sealed plastic bag, and place in the refrigerator to rest and chill from 30 minutes up to two days.

Take the dough out of the refrigerator, lightly dust the work surface with flour and place it on the table.

As you hold the rolling pin gently hit the surface of the dough a few times. This will slightly soften it before you roll it out.

From the center, start rolling out the dough being careful to always keep the surface of the table and the top of the dough slightly floured.

Place the rolling pin at the edge of the rolled out dough, and carefully and lightly wrap the dough around it.

Doing this enables you to unroll and place the rolled out dough on top of the pie dish avoiding the risk of ripping or tearing.

You will have excess dough which can either be folded under or trimmed before fluting. Gently press the dough into the bottom and sides of the pan.

In this case the kids cut the excess dough which they later used for garnish on top of the pie.

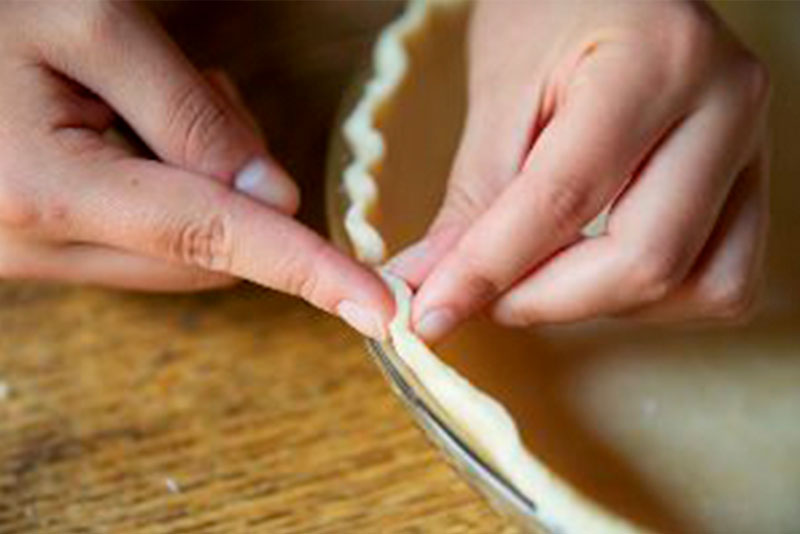
Fluting the edge of the dough is easy. Simply press the index finger of one hand into the dough while pressing against it with the thumb and index finger of the opposite hand.

You are now ready to use your homemade pie crust for either sweet or savory dishes.
Important: pre-baking the empty pie shell is necessary when you choose to bake it with a more liquid filling.
Who says that making a pie crust has to be complicated?
What are your tips for a good pie crust?
Follow us on Instagram and tag #fontanaforniusa with your favorite pie made with this recipe.


