Baking our Simple Bread Dough
Directions for Shaping, Scoring and Baking the bread dough:
*Click HERE to follow the recipe of this 63% hydrated dough.
Prep work:
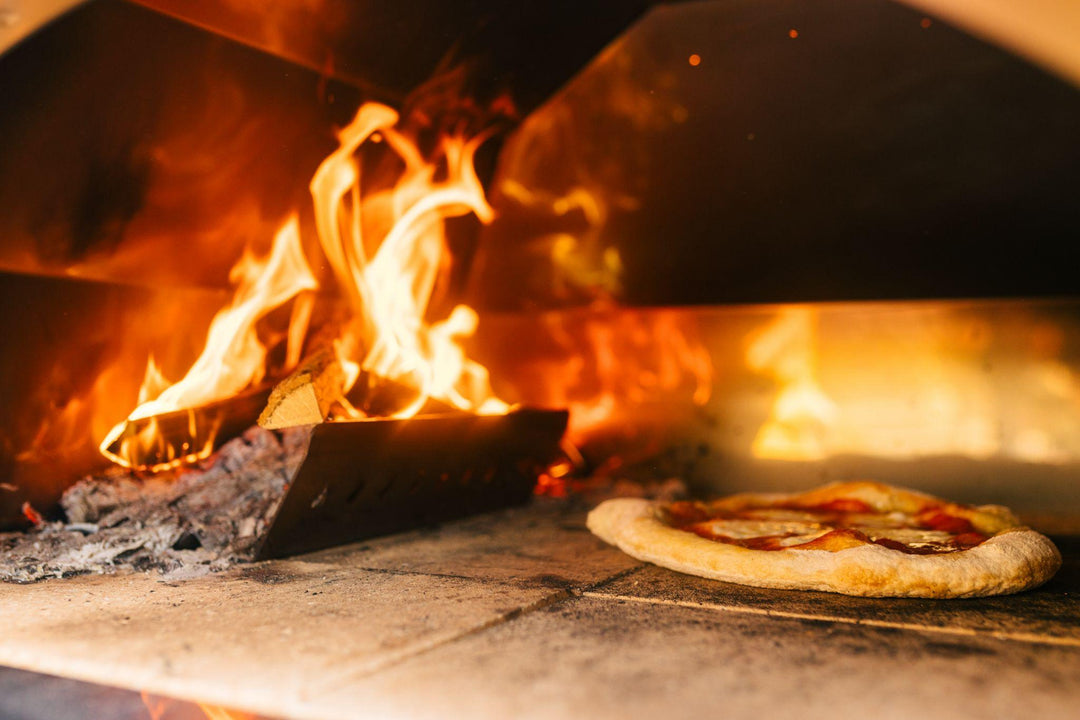
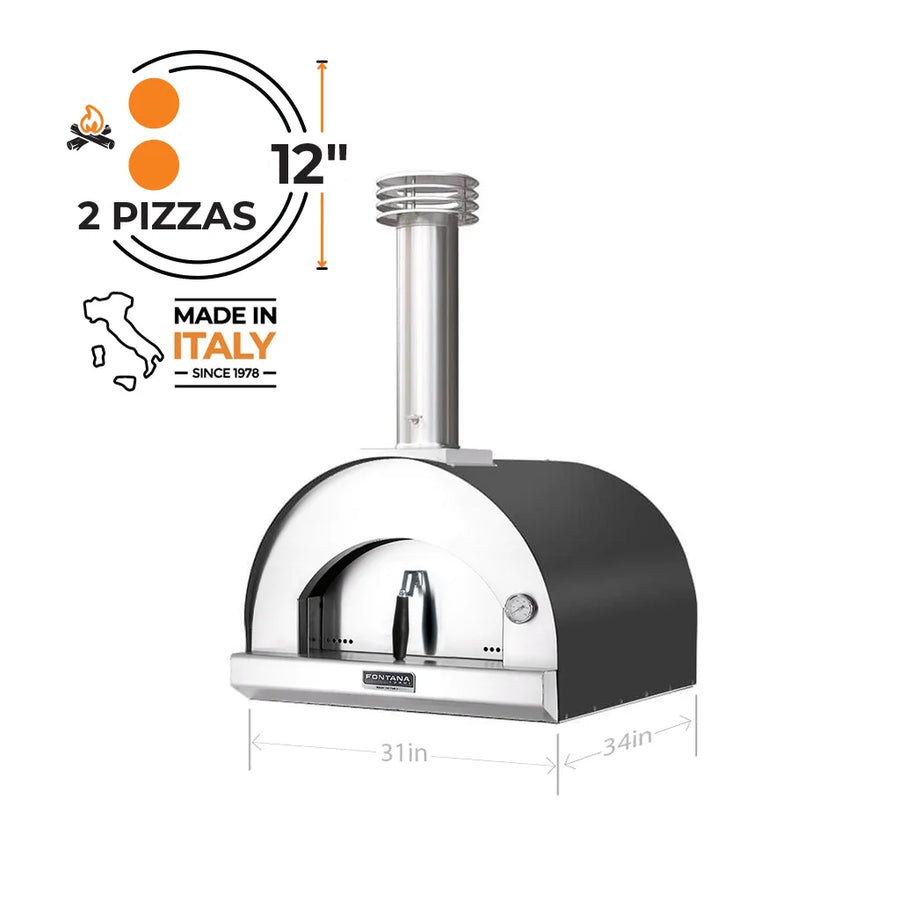
About 40 minutes before baking, preheat the wood-fired oven to 600°F with an active fire on one side of the cooking chamber. You will NOT bake the bread at such high temperature, but you will need to have it hot enough in order to give yourself time to get the coals and the ashes out of the oven floor before transferring the bread inside. During cleaning time the oven will cool down enough to bake the bread at around 500°F. This cleaning method is only necessary when using the Fontana ovens where the fire is present in the cooking chamber. Up to baking time keep a good active fire going inside the oven making sure the opening is almost completely shut with the door.
The satisfying process of shaping the dough is now beginning. Once doubled in size, transfer the dough on a clean, flour dusted work surface.
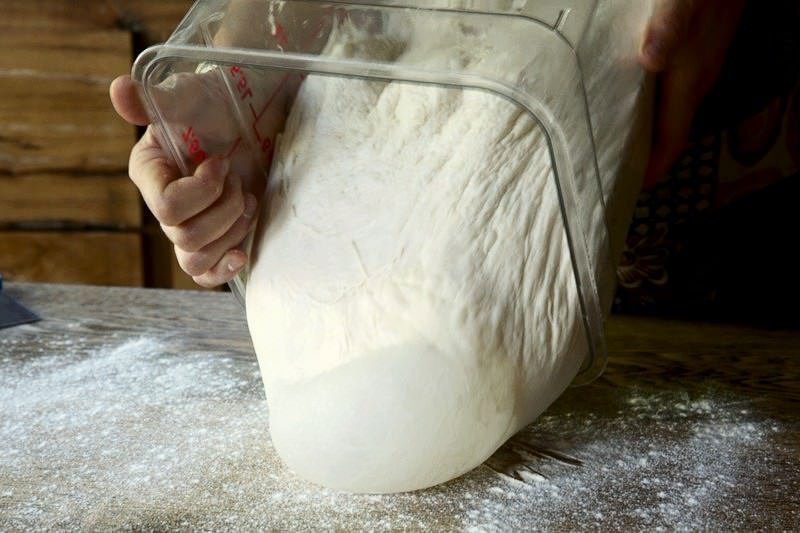
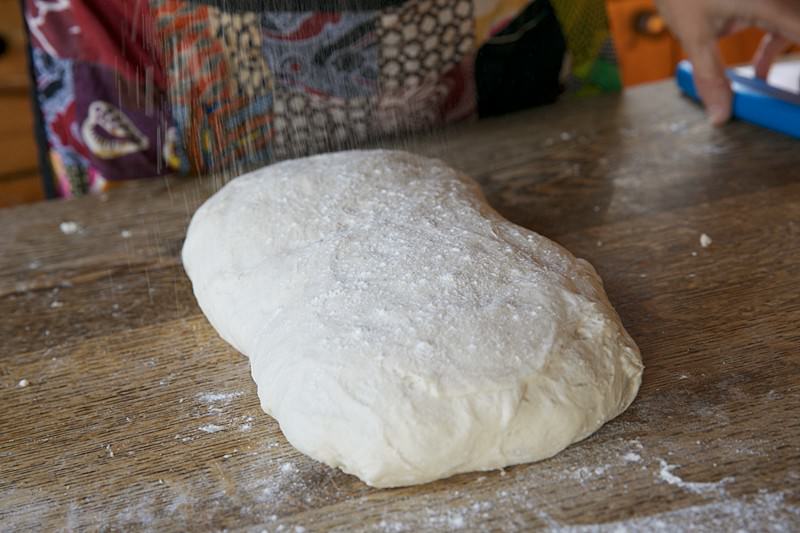
Before dividing, lightly dust the top part of the dough facing you with some flour.
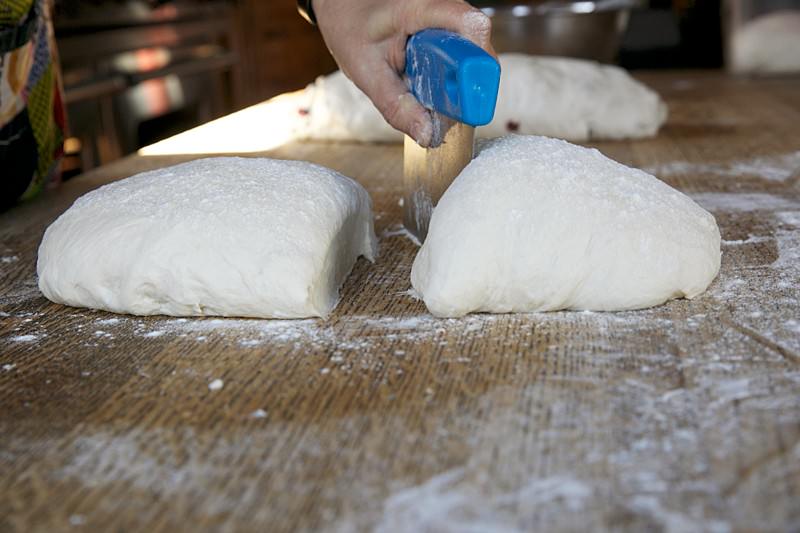
With the help of the dough spatula or dough scraper, cut the dough into two equal pieces.
Shape the dough into a rough rectangle.

Fold the dough by stretching the farthest piece on the left and folding it in the center.
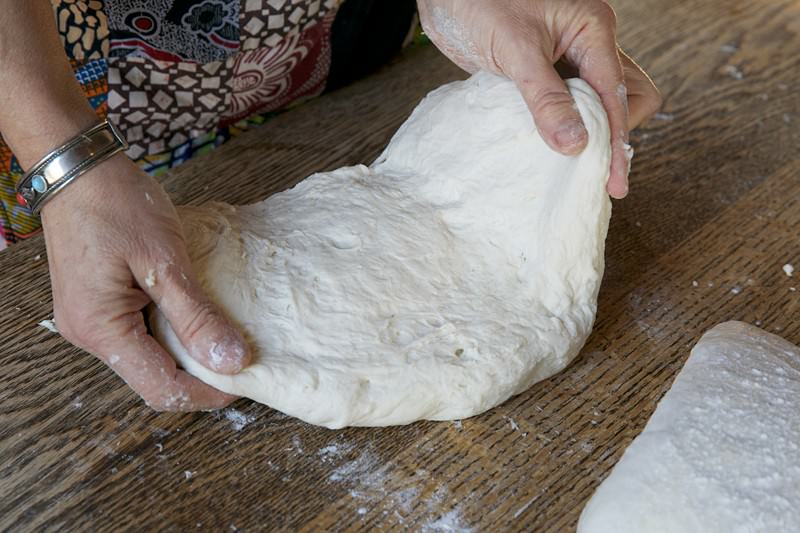
With the opposite hand stretch the other end as far as it will go without causing it to rip.
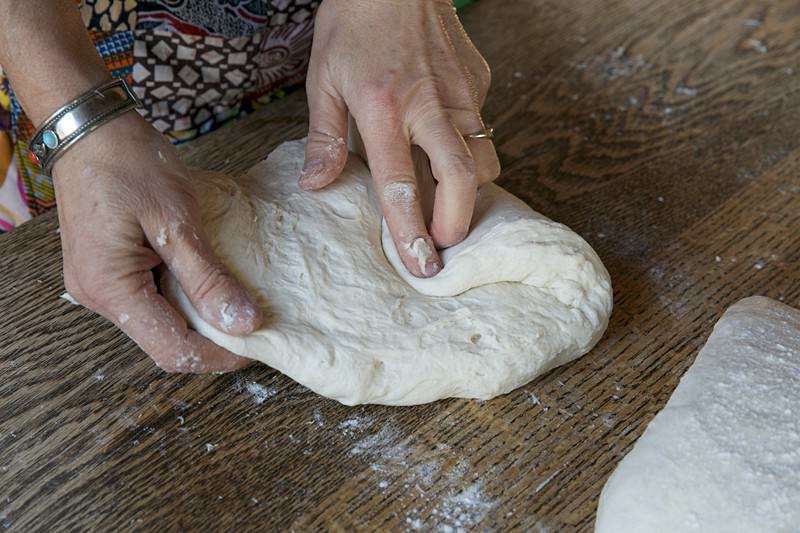
Do the same process on the right by folding it to the center.
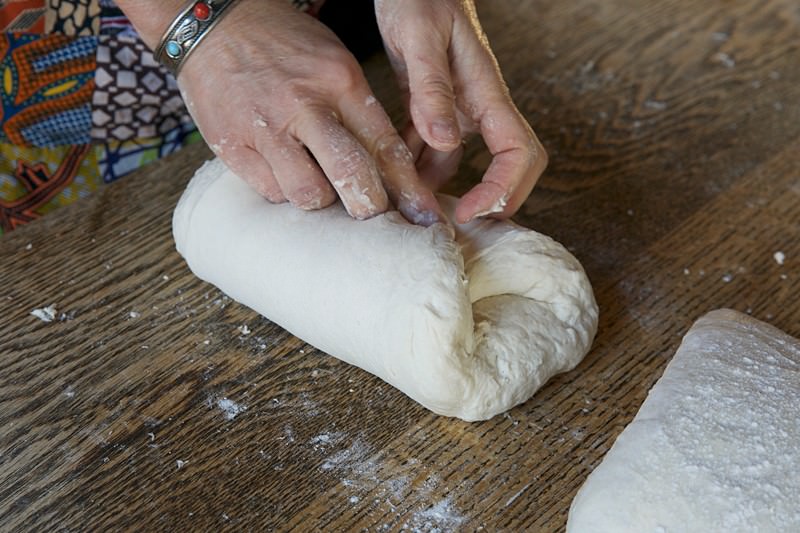
Pull and stretch the piece closest to you and fold it to the center.
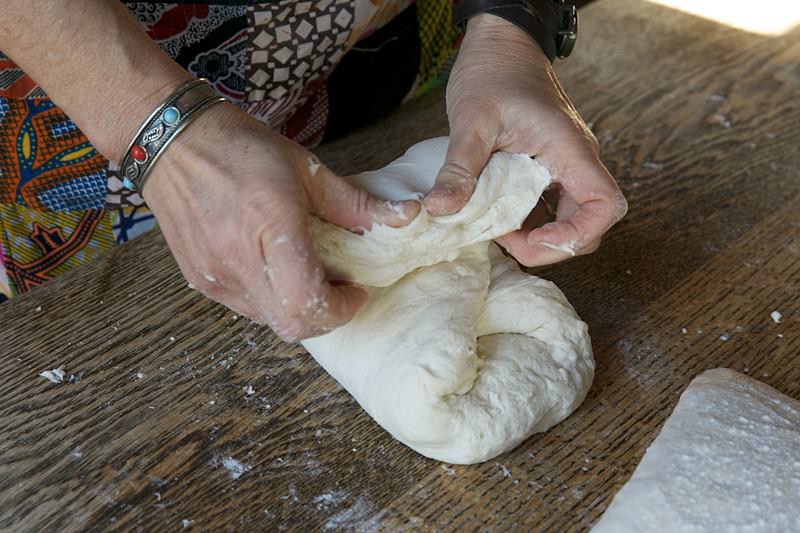
Now stretch and fold the last piece from the top to the center as if you were shaping and closing an envelope.
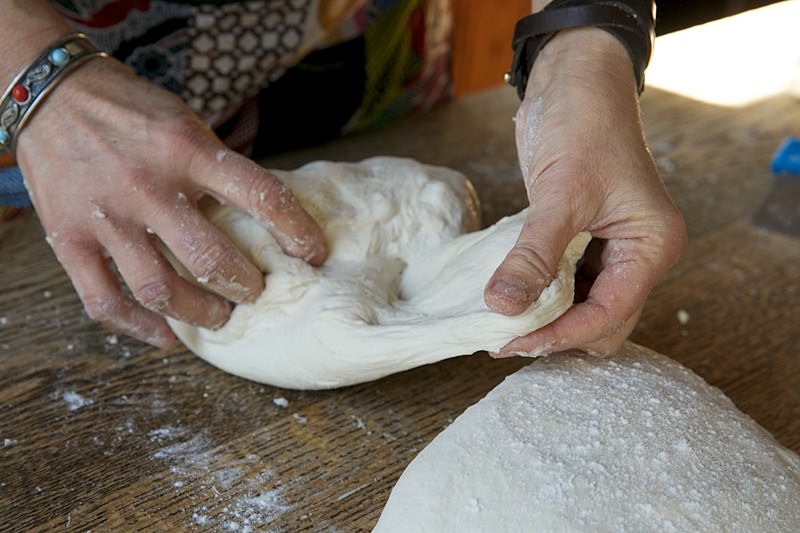
Stretch it all the way up to the front and seal.
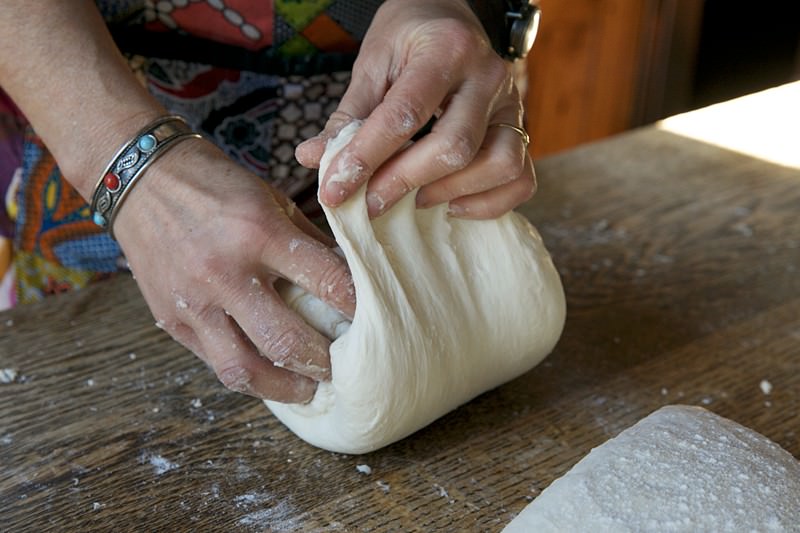
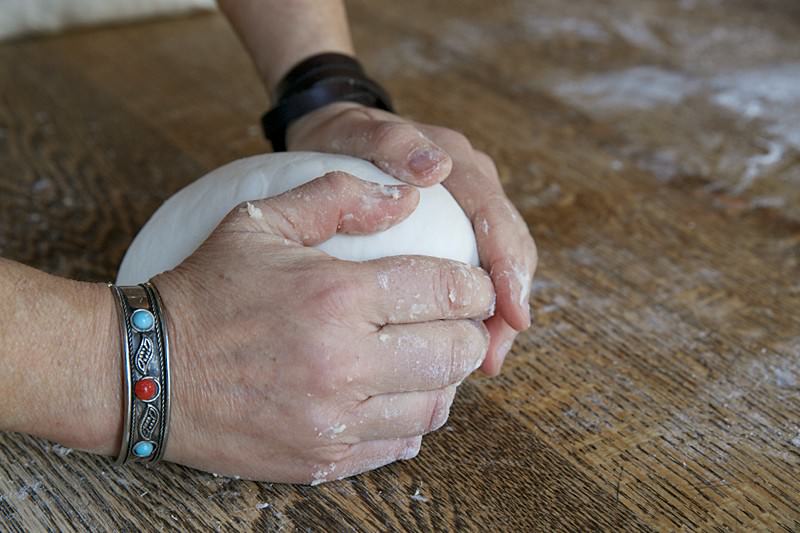
Flip the dough ball around so all the seams rest on the work surface. Cup the dough ball with both hands. As you rest your hands on the table, roll and pull the dough towards you in a counterclockwise motion. Repeat this motion about four times all around the dough ball.
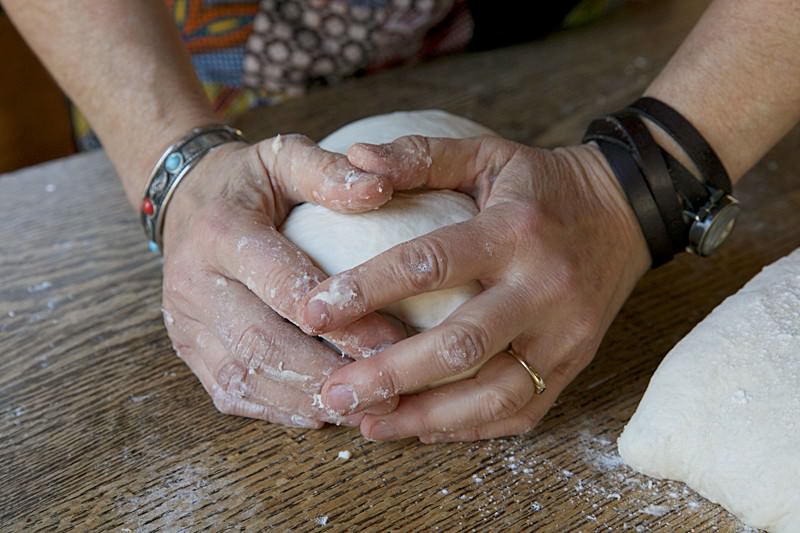
Doing this pulling motion will create friction between the dough and the table, thus creating good tension in the loaf.
Final proofing:
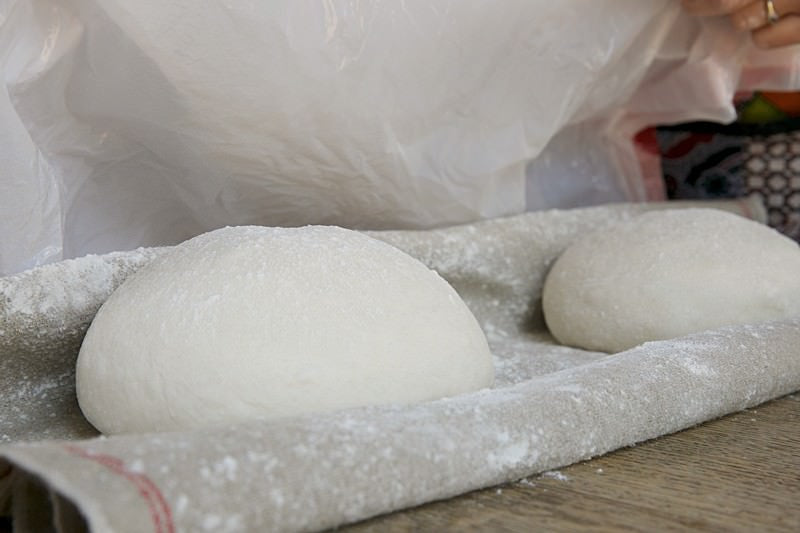
You have now two options. You can either place the shaped dough ball on a flour dusted baker's cloth, on some parchment paper, or in a lined proofing basket. Click HERE for the link to learn how to proof the dough in a basket.
Here we have chosen to allow the dough to rise and proof on a baker's cloth.

Make sure to cover the dough with plastic wrap or a damp cloth to prevent it from drying and forming a crust on the surface.
Prepping the oven:
Baking time is about to happen, but first the oven must be cleaned. At this time it would be very useful to have the help of another person if available. One person can concentrate to the transferring of the dough to the peel and the scoring, while the other can thouroughly clean the oven from the hot coals and ashes. If you are working alone you must work quickly as to not to cool off the oven too much while you need to still transfer the dough balls on the peel and score them.
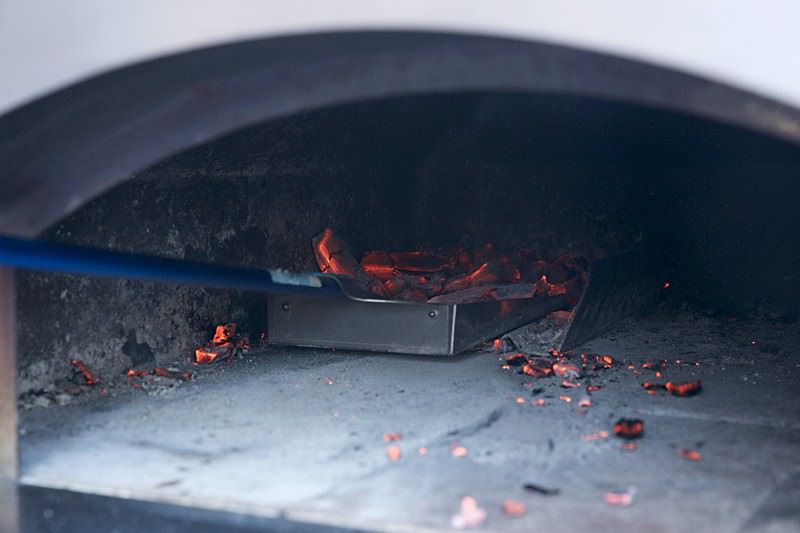
Back to the cleaning of the wood-fired oven. With the help of the ash cleaning shovel remove all the coals and ashes from the cooking chamber.
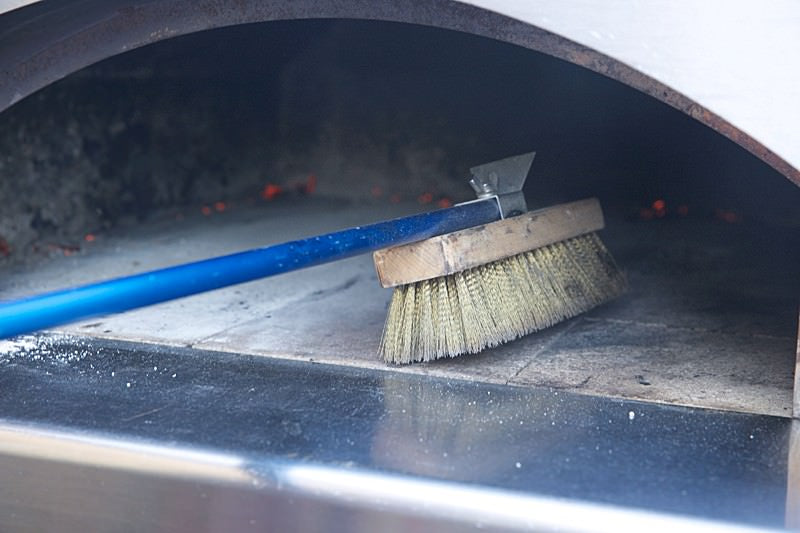
Use the brass bristled cleaning brush to remove any remaining ashes from the oven floor.
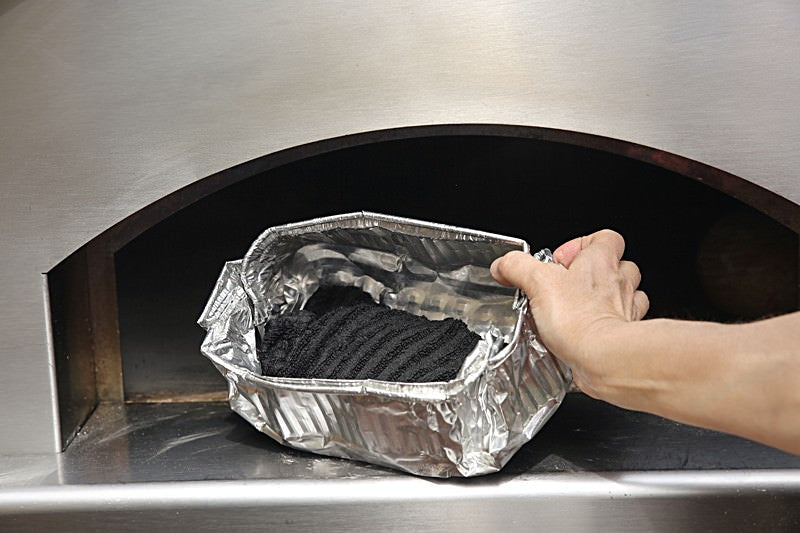
Before closing the oven door, place an empty small pan on the opposite side of where the bread will be placed, and allow it to heat up. In this pan you will pour a cup of hot water as soon as the loaves have been placed in the oven and before closing the door.
You can also place a hand towel saturated with water in the pan. Doing so will fill the oven chamber with steam for the first few minutes of baking, necessary for the final rise or oven spring of the loaf. Steam should only stay present for the first 15 minutes of baking.
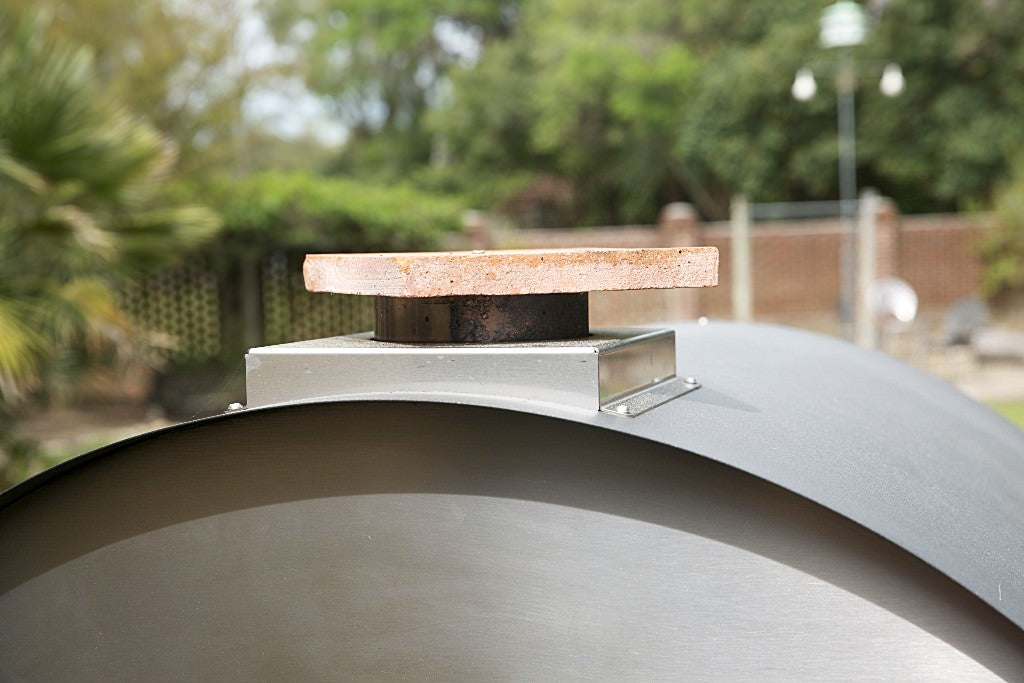
**CAUTION HOT** With oven mitts, very carefully take the chimney off of the oven and place it in a safe place away from children. Place a brick or a terra-cotta saucer on top of the chimney to keep both the heat and the steam inside the oven.
Scoring of the dough:
It is time to transfer the dough on the wooden peel which has been previously dusted with some cornmeal. If the dough has been proofing overnight in the basket inside the refrigerator, unwrap it and gently flip it on the peel.
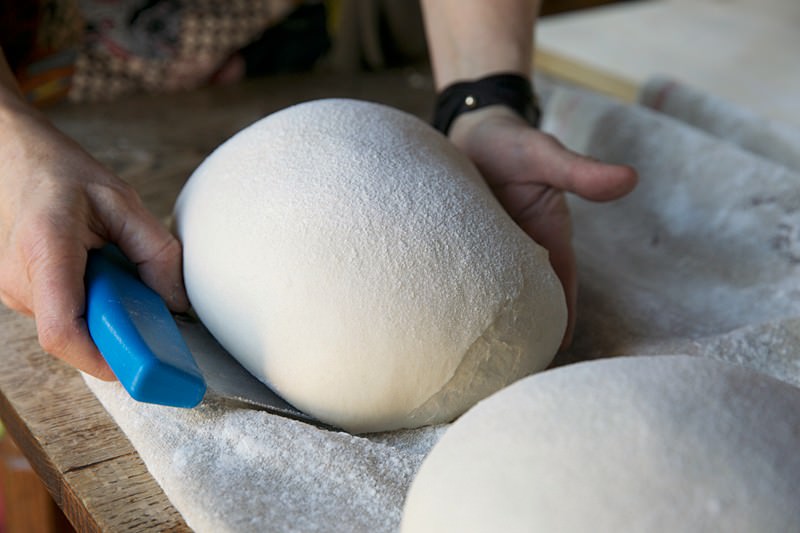
If the dough is on the baker's cloth, carefully pick it up with the help of a dough cutter or dough spatula, and your free hand to transfer it on the wooden peel. Very gently lift the dough being careful not to degas it and place it on the dusted wooden peel. Gently pull without ripping the loaf.
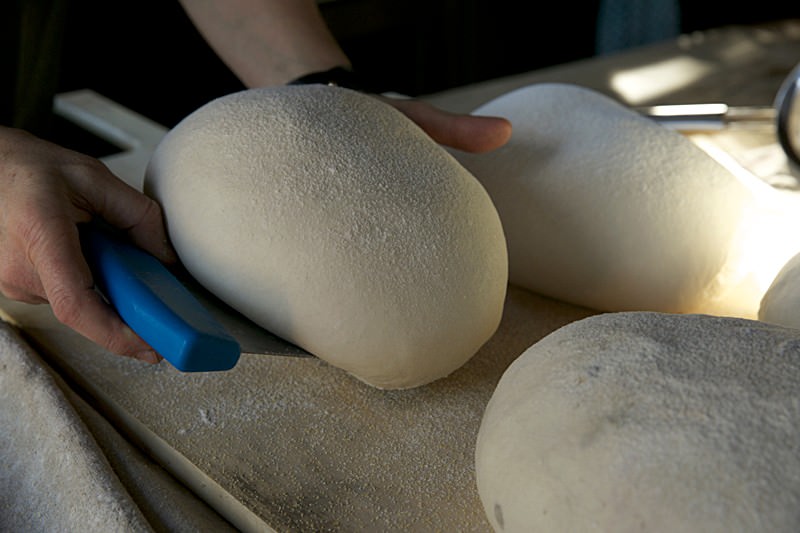
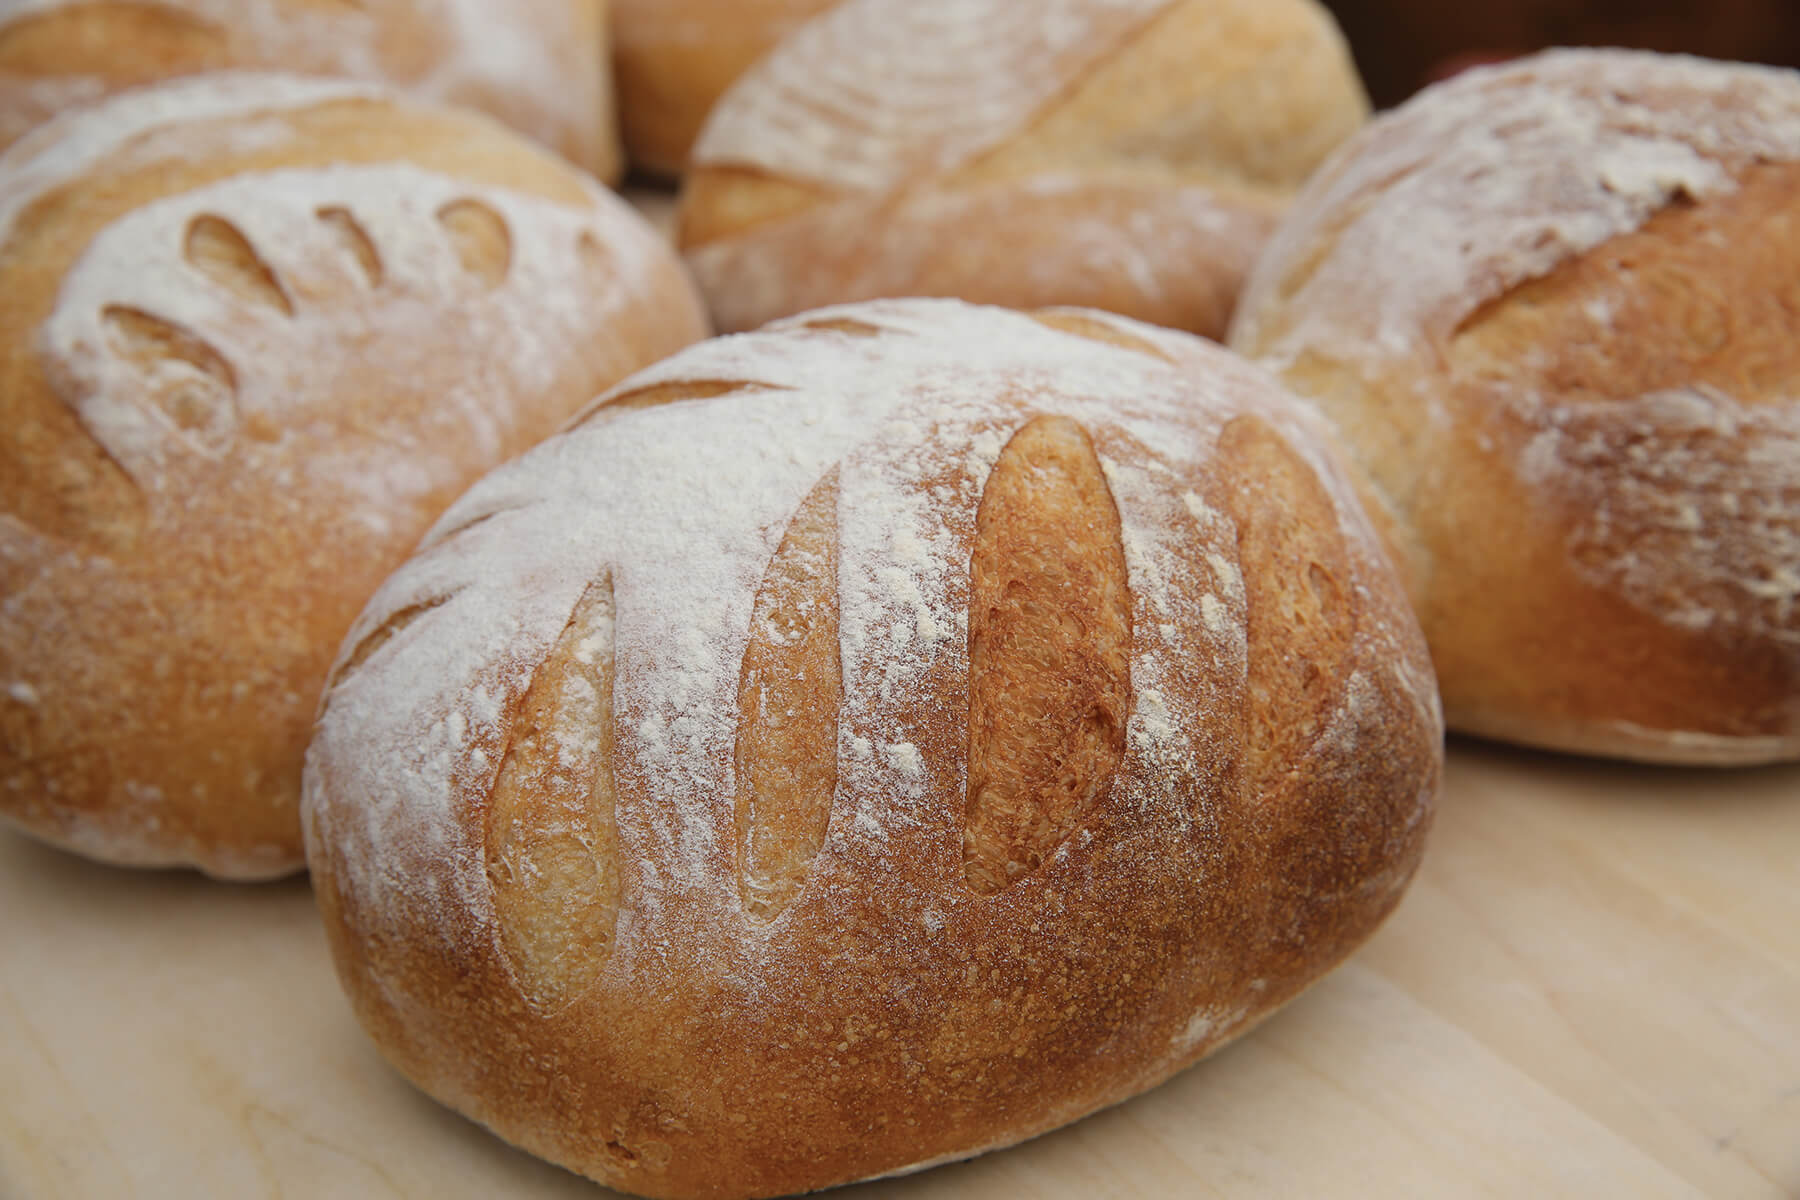
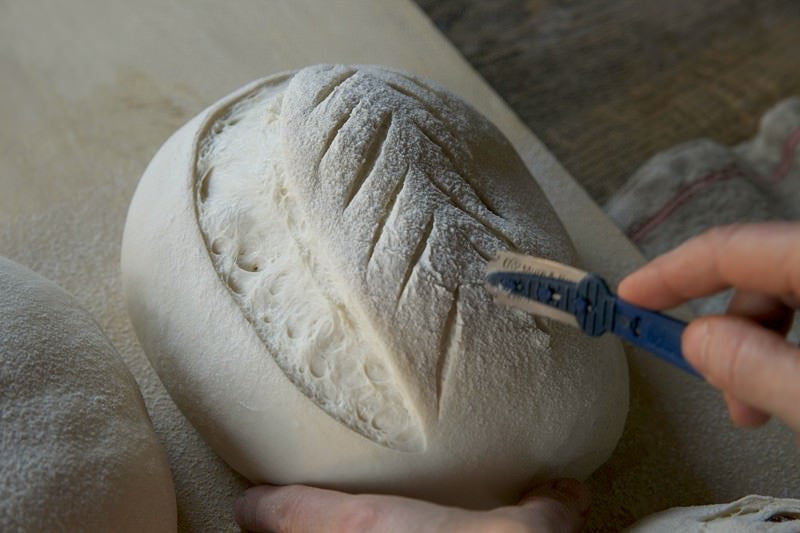
Once placed on the peel it is time to score each dough ball. Lightly dust the surface of each dough ball with some flour. The flour on the top of the dough will help the blade to glide without sticking. Scoring is one of the most magical moments in bread baking. Not only is this the personal signature of the baker, but most importantly it allows the dough to experience the final rise when in the oven. The magic of further rising will occur in the first few minutes of baking as you introduce the steam. This is called the OVEN SPRING.
Scoring or slashing:
For the scoring process simply place the sharp blade on top of the dough.
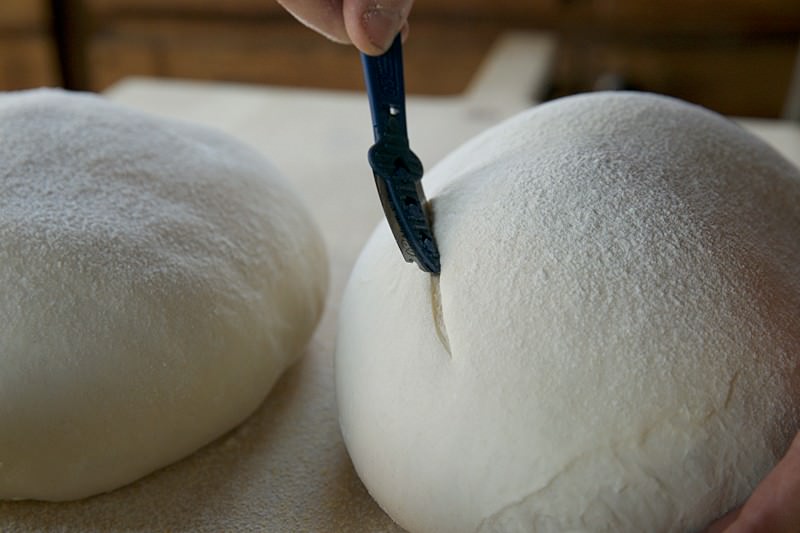
With a decisive quick motion, run the sharp blade over the dusted loaf. Don't be afraid!
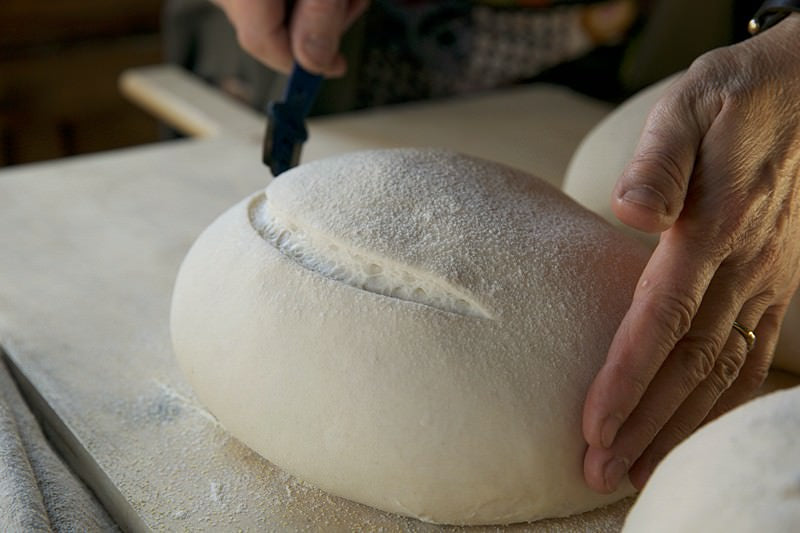
Be creative with your personal scoring and signature.
Baking the bread:
Make sure to check the temperature of the oven with the infrared thermometer. Initially the oven should be at 500°F. In this specific image you can see more than two loaves because we made a larger batch of dough. Glide the peel all the way to the back of the oven. With a decisive but gentle quick move, pull the peel, which must be slightly slanted forward, back and out of the oven toward you.
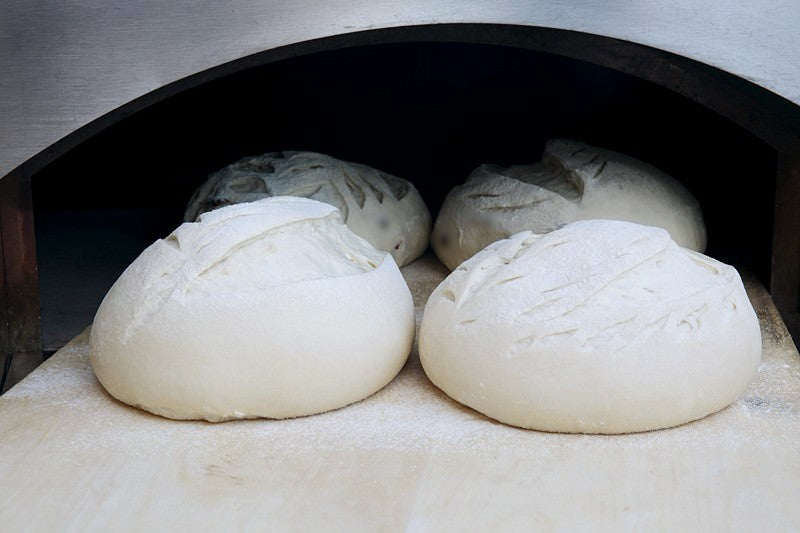
The first loaves will be resting on the back of the oven floor and now the last ones will be transferred on the hot surface.
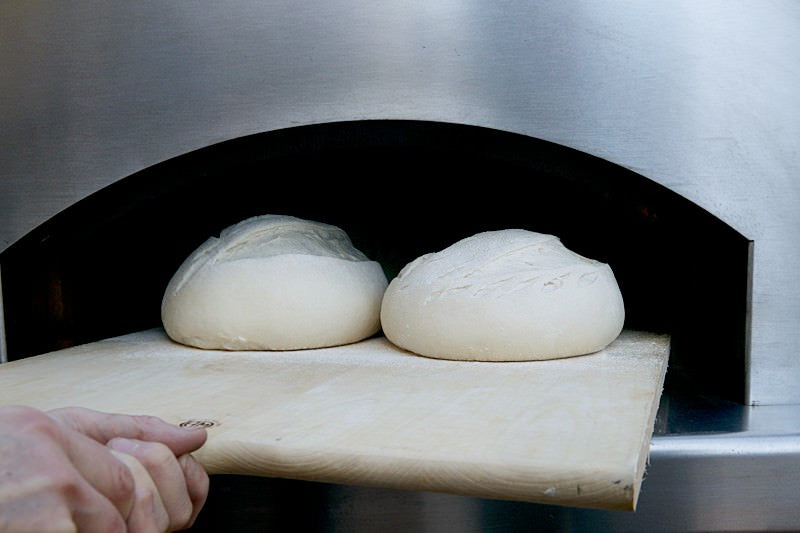
Immediately pour the hot water into the tray and close the door. After 15 minutes have passed, pull out the steam tray unless all the water has evaporated.
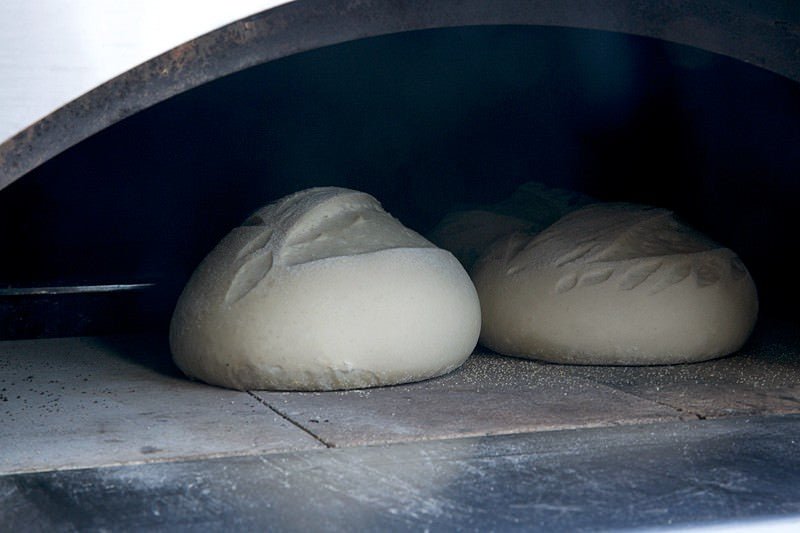
After about 45 minutes, or until golden brown, the bread is done and ready to come out.

Slide the wooden peel under the loaves all the way to the very back of the oven.
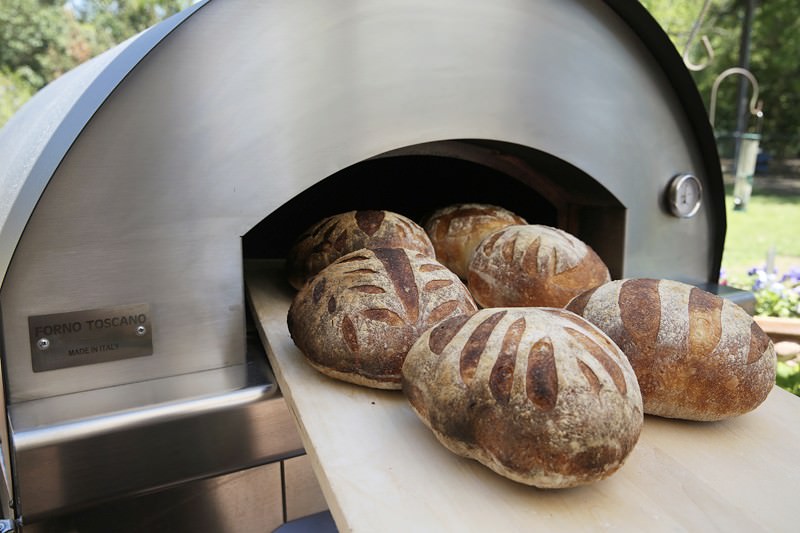
Pull the hot loaves out of the oven and place them on a cooling rack.
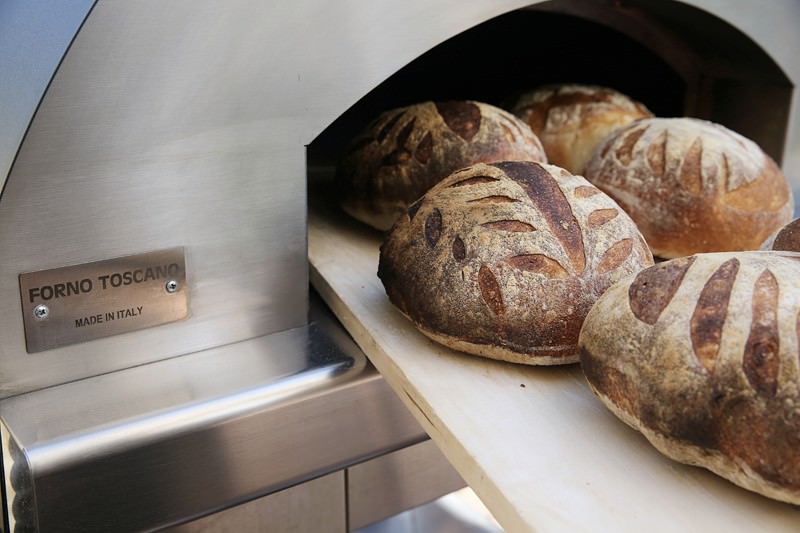
You will quickly fall in love with the symphony and song of the bread. Become familiar with the hollow sound of the loaf when you tap the bottom of the bread with your fingers. You will hear a hollow sound which indicates that the bread is perfectly baked.
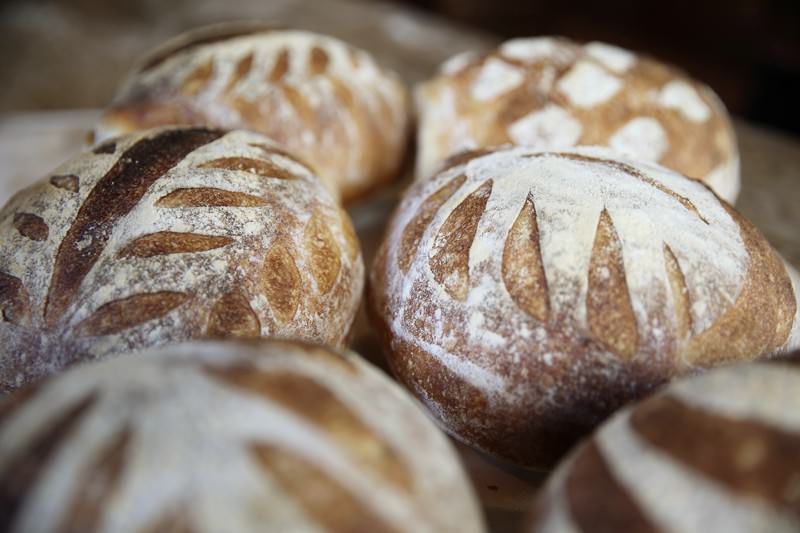
Enjoy and have fun baking!
How do you like dusting and scoring your bread dough?
What are your favorite bread making techniques?
How do you fill the oven chamber with steam while baking bread?
Follow us on Instagram, Pinterest, Facebook and Twitter . Tag #fontanaforniusa with an image of your creation made with this recipe.


